Accessing the Documents Hub
Open the Documents Hub from the left sidebar by clicking the Documents tab.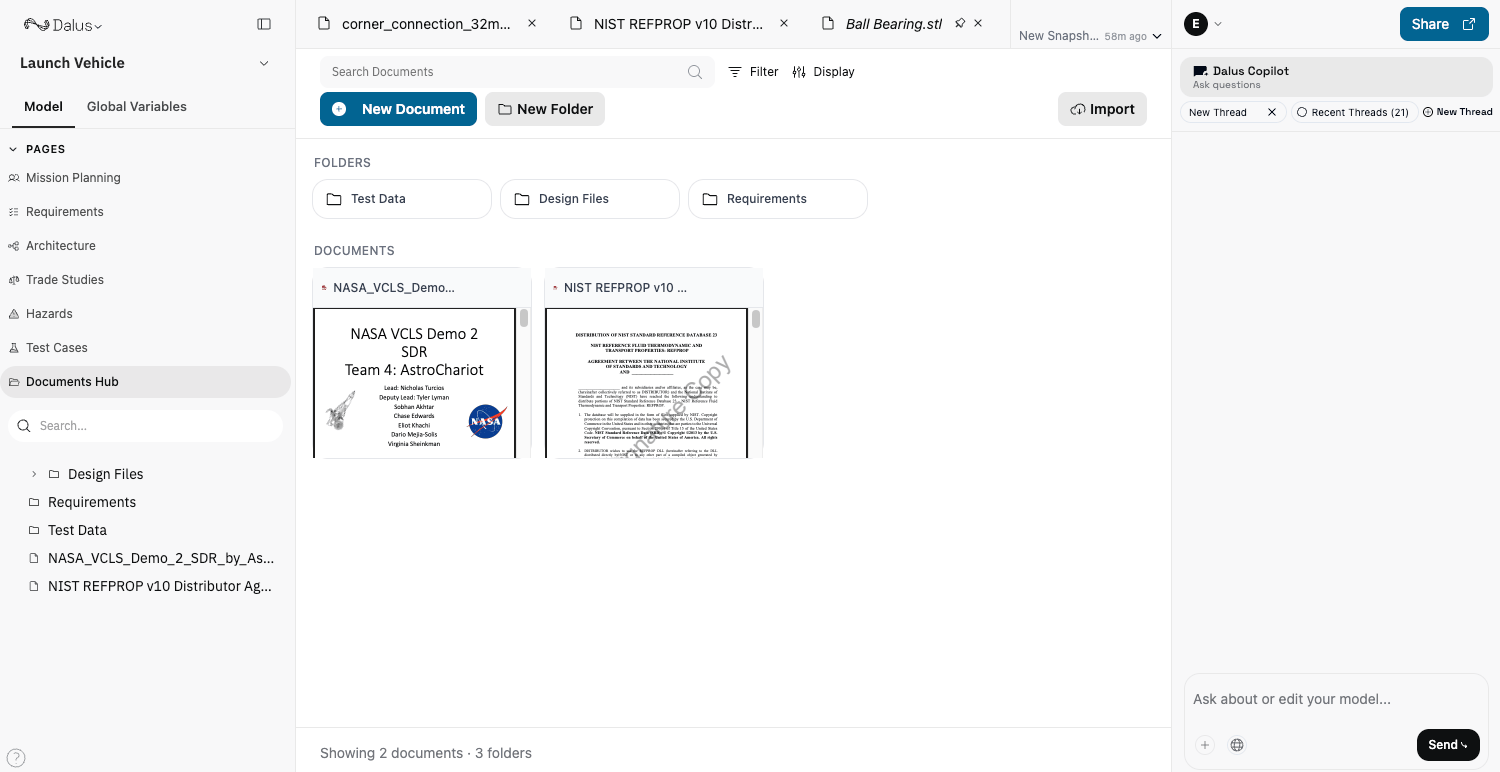
Controls
Use the top controls to manage your files:- Search to find documents by name
- New Document (or drag and drop files and folders) to upload
- New Folder to create folders
- Import to bring in files from OneDrive
- Filter and Display to change what you see and how it’s shown

Importing from OneDrive
Use Import → OneDrive to bring in files and folders from your OneDrive account. OneDrive folders are read-only.Tabs and Breadcrumbs
When you open documents, they appear as tabs in the header so you can switch between multiple files. The breadcrumb shows where you are in the Documents Hub (folders and the currently selected document).
Menus
Use the context menu (right-click) or the ⋮ menu for actions.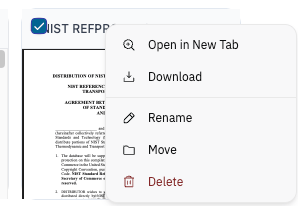
Bulk Actions
Select multiple items using checkboxes to access bulk actions.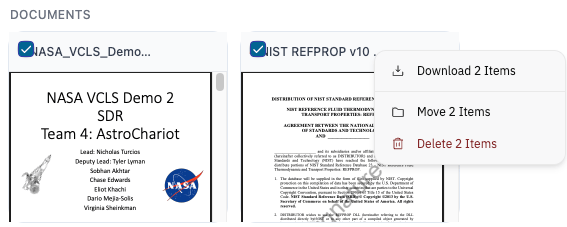
Linking Documents to Parts
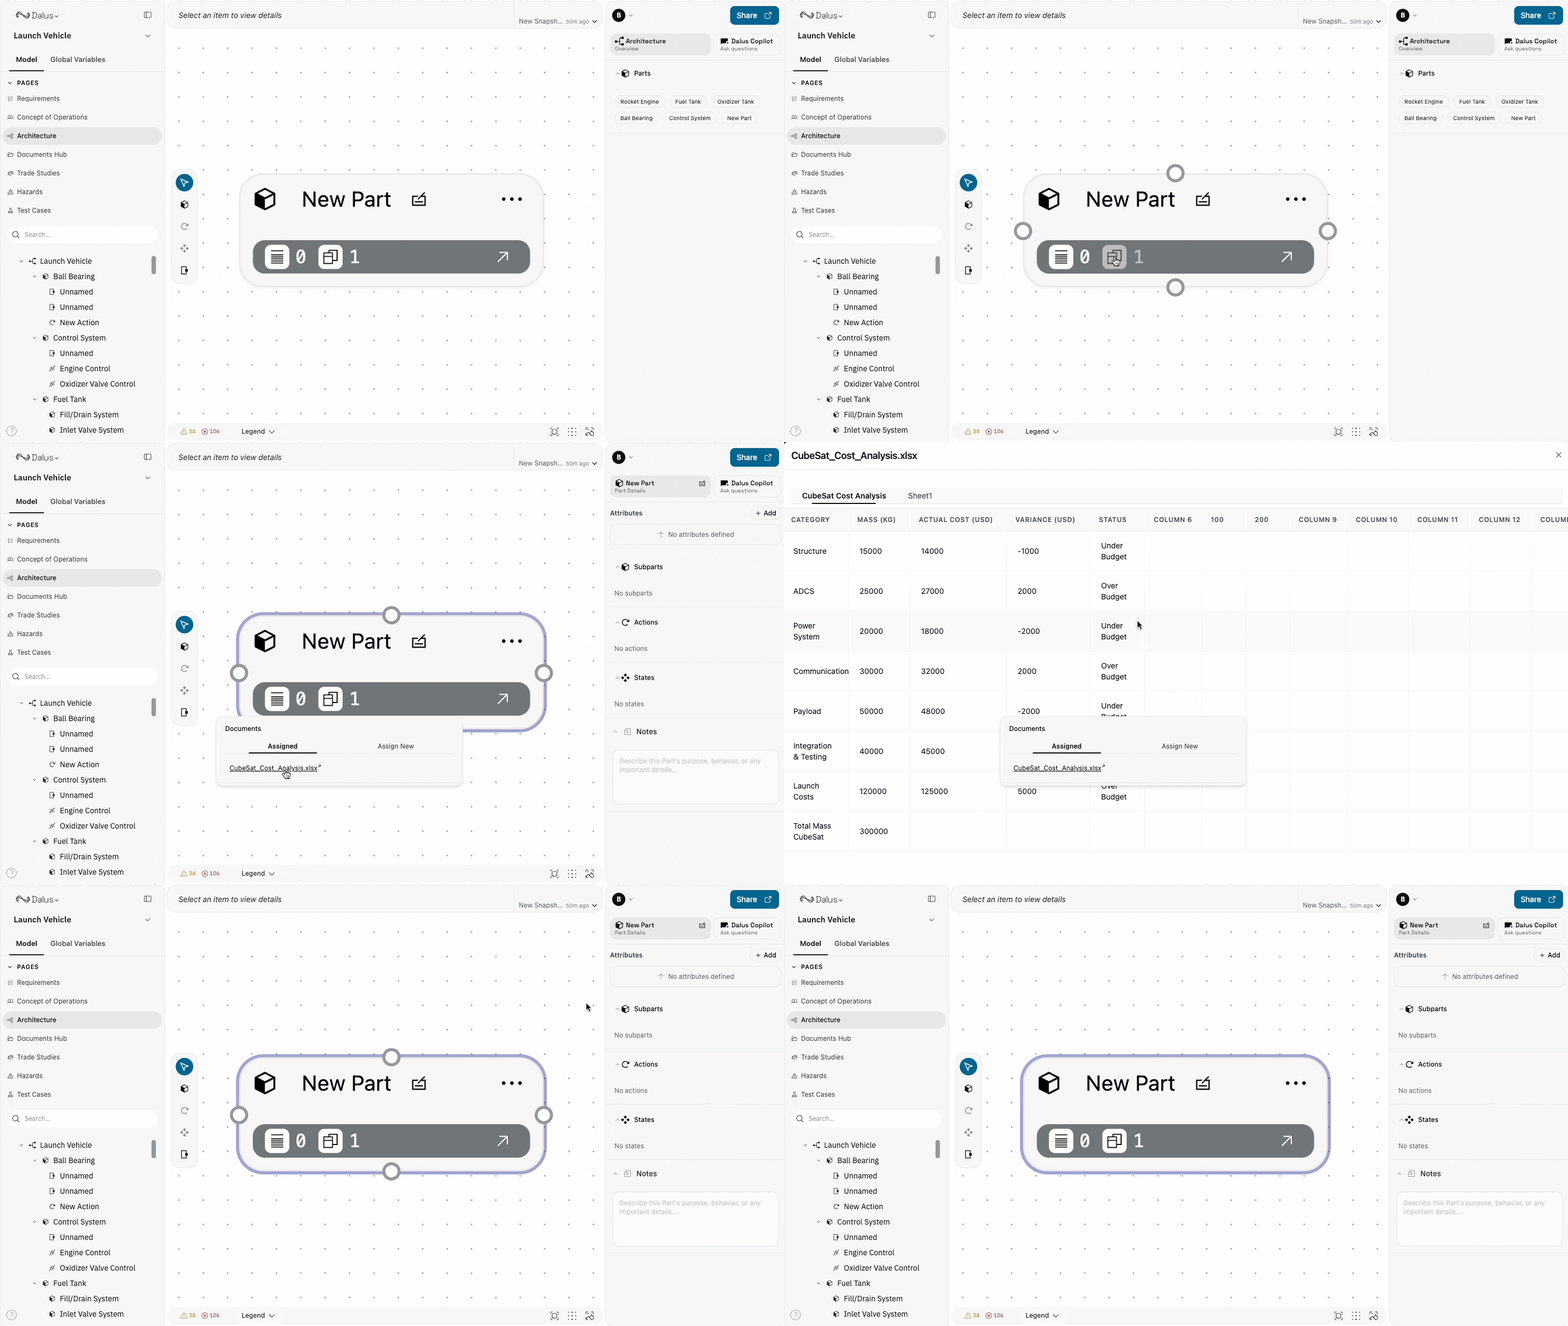
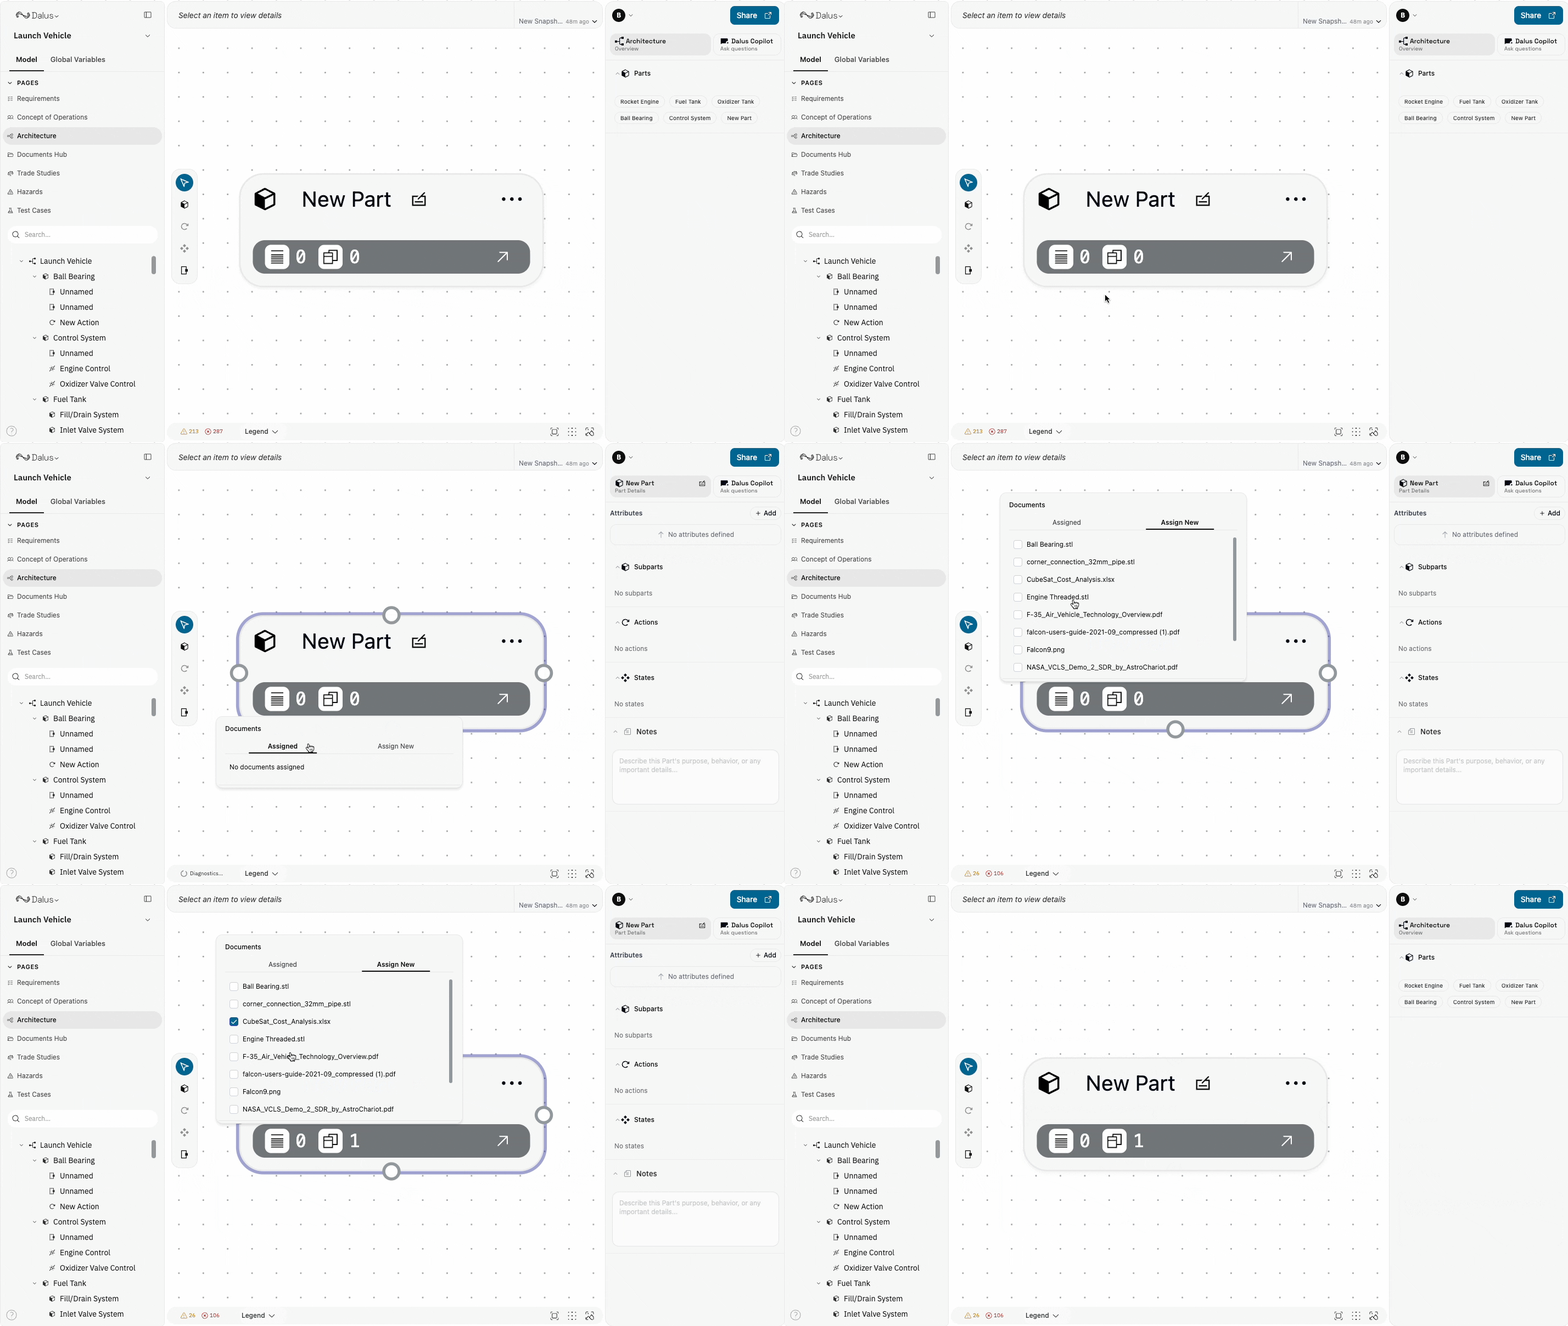
Documents become most valuable when connected to the system components they describe.- Click the Documents icon on any Part node in the canvas.
- In the popover, switch to the Assign new tab.
- Select or deselect documents using the checkboxes.
Viewing Assigned Documents
Once documents are linked to a part:- The Assigned tab in the Properties panel lists them with preview thumbnails.
- Click any document to open the full preview.
- Uncheck a document in the Assign tab to remove the link without deleting the file.